Send Mails Programmatically with Sendgrid
Learn to send emails from your NextJs Application using SendGrid.


Giving a little bit of background, I am working as an intern and was asked to build a portal that would send a bunch of emails at once.
And honestly, I had no idea how to do it. One of my teammates suggested looking into SendGrid.
I've spent quite some time learning and debugging & so thought of sharing my knowledge through this article. Hope this saves you some frustration and time.
In this article, we'll learn how to send email via SendGrid step-by-step through our NextJs Application.
PS: You'll be able to follow, even if you haven't worked on NextJs.
So without wasting any time let's jump right into it.
Creating a SendGrid Account:
Signup:
Certainly, the first step would be to signup. Enter email & password and let's quickly move onto the next step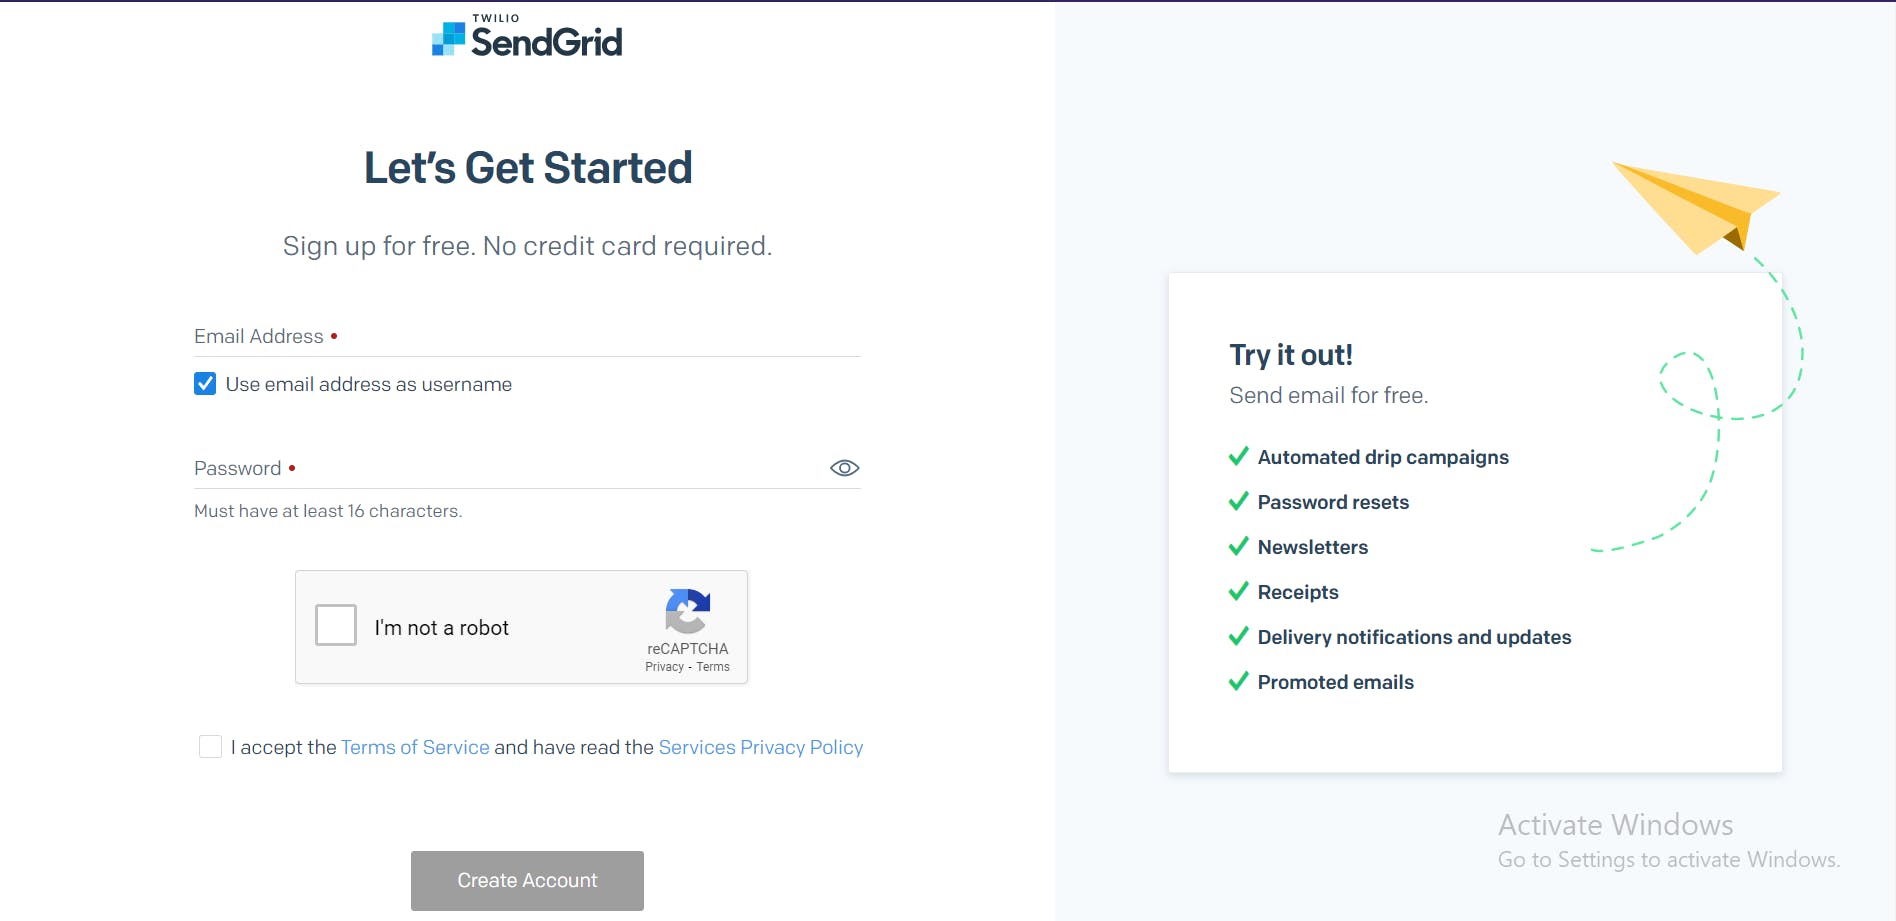
Fill in details:
In this step, SendGrid requires us to fill in some primary details.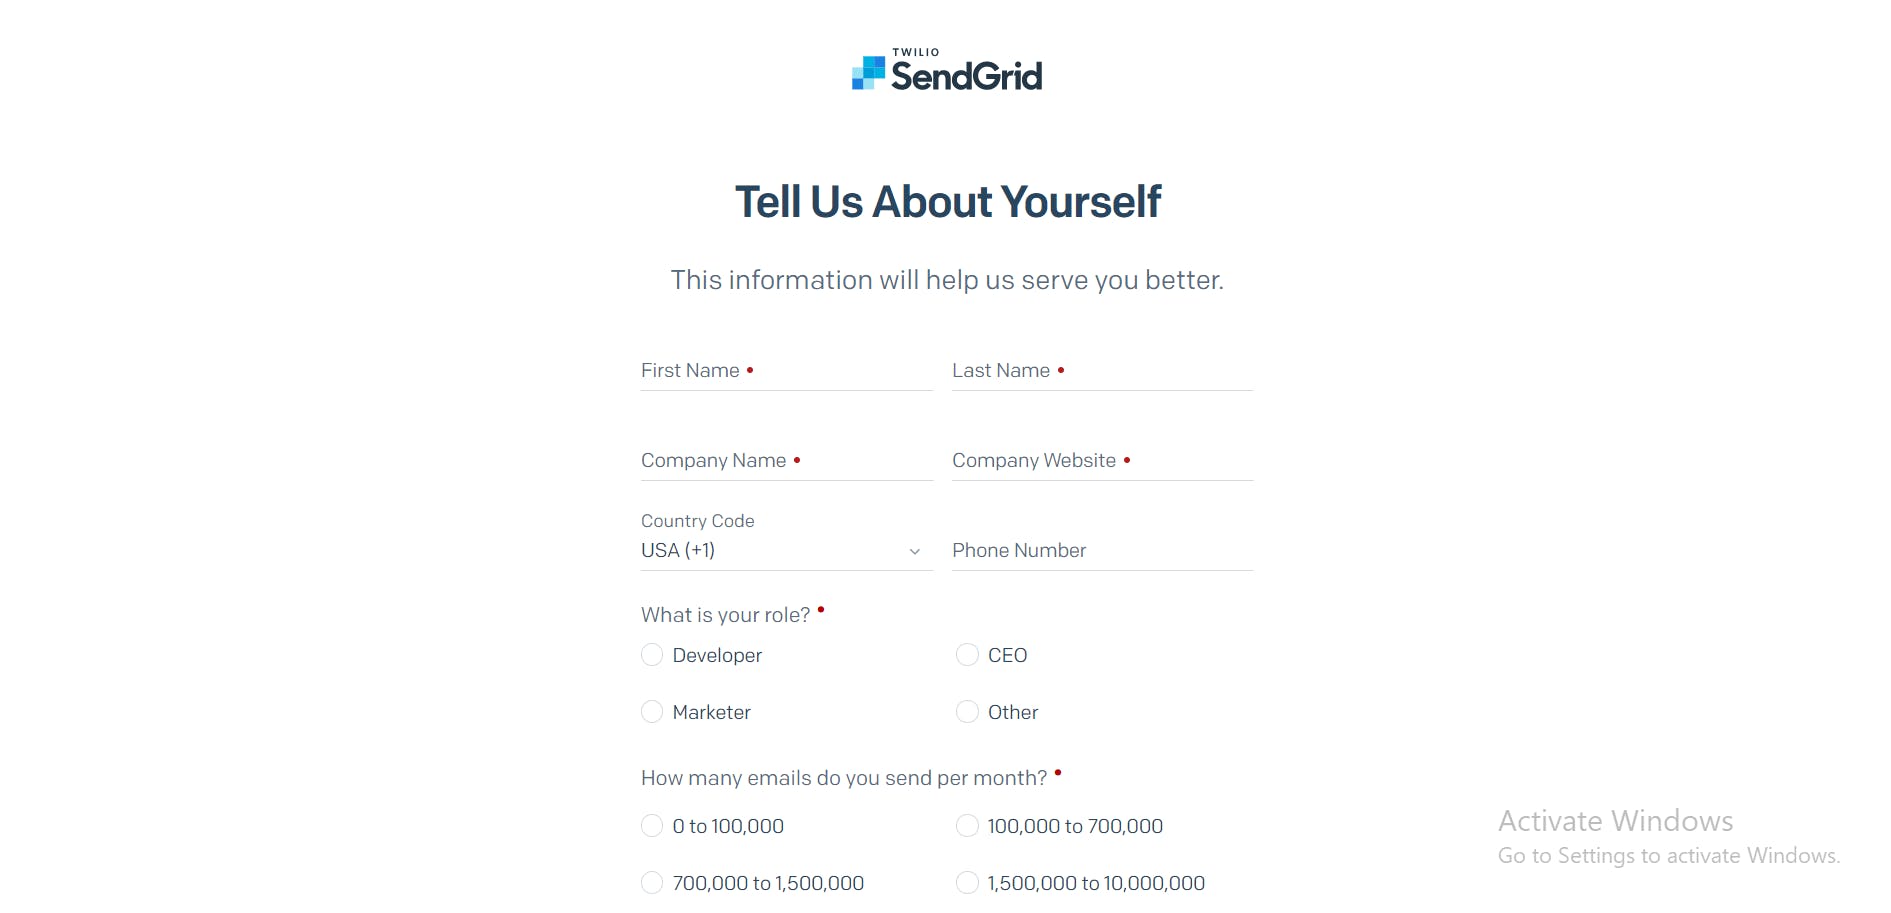
Domain VS Single Sender Authentication.
After completing basic registration steps and confirming your email you would see this screen
If you have a domain want to send emails through your domain then go ahead and Click on Domain Authentication and complete the necessary steps.
Or else Click on Single Sender Verification and let's look into the sender's verification in our next step.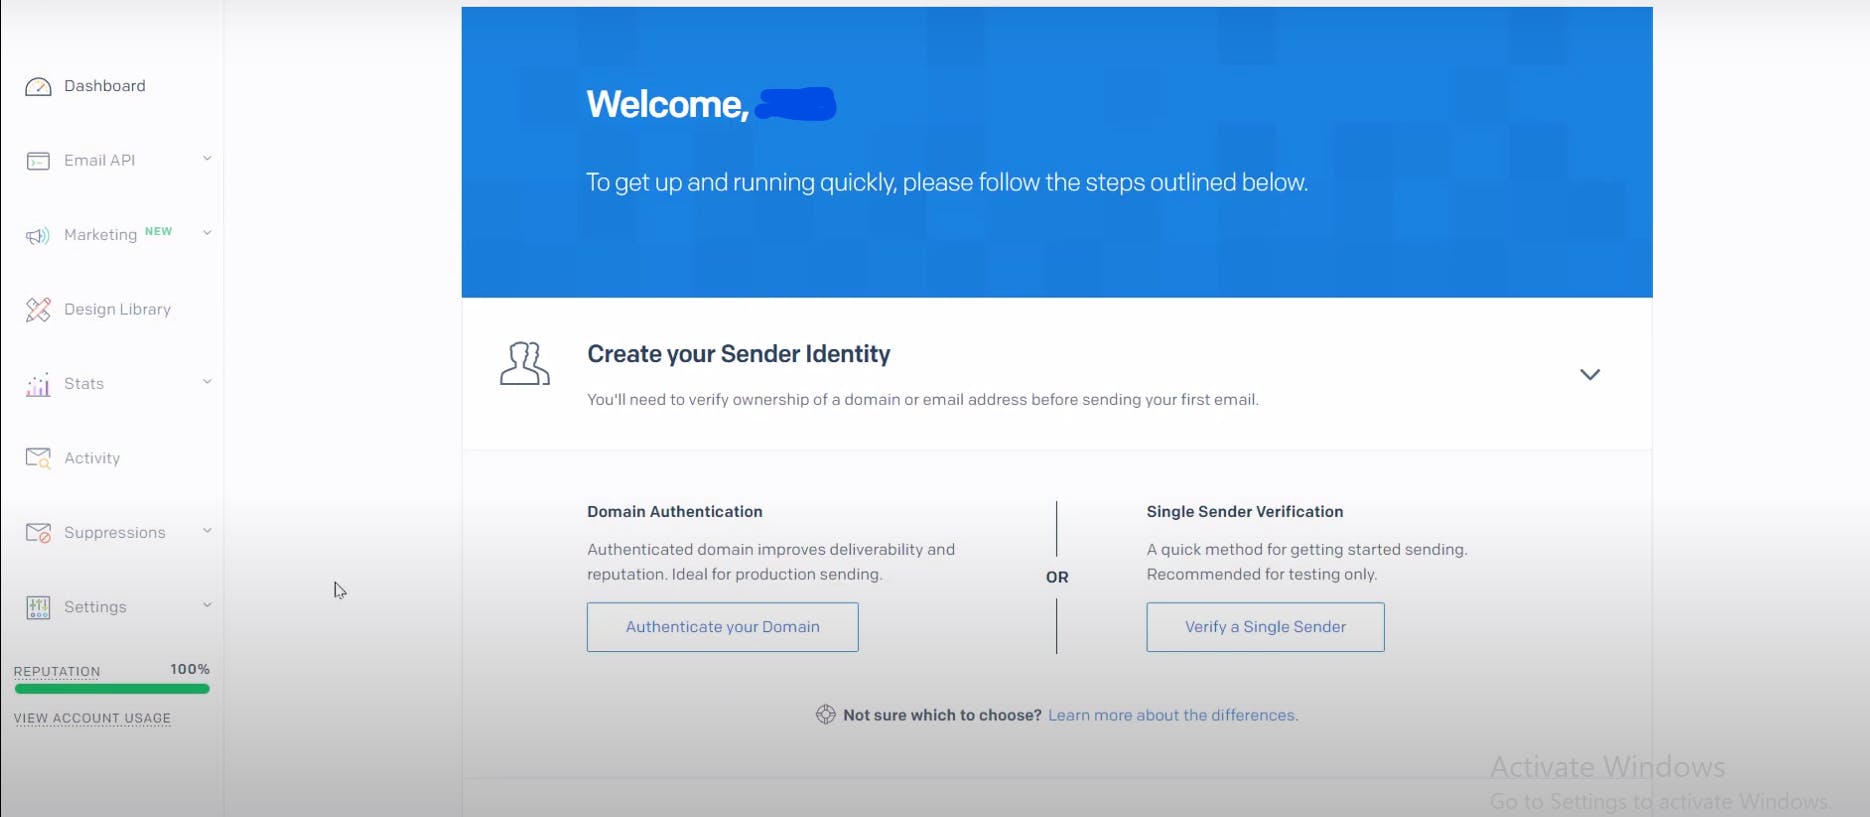
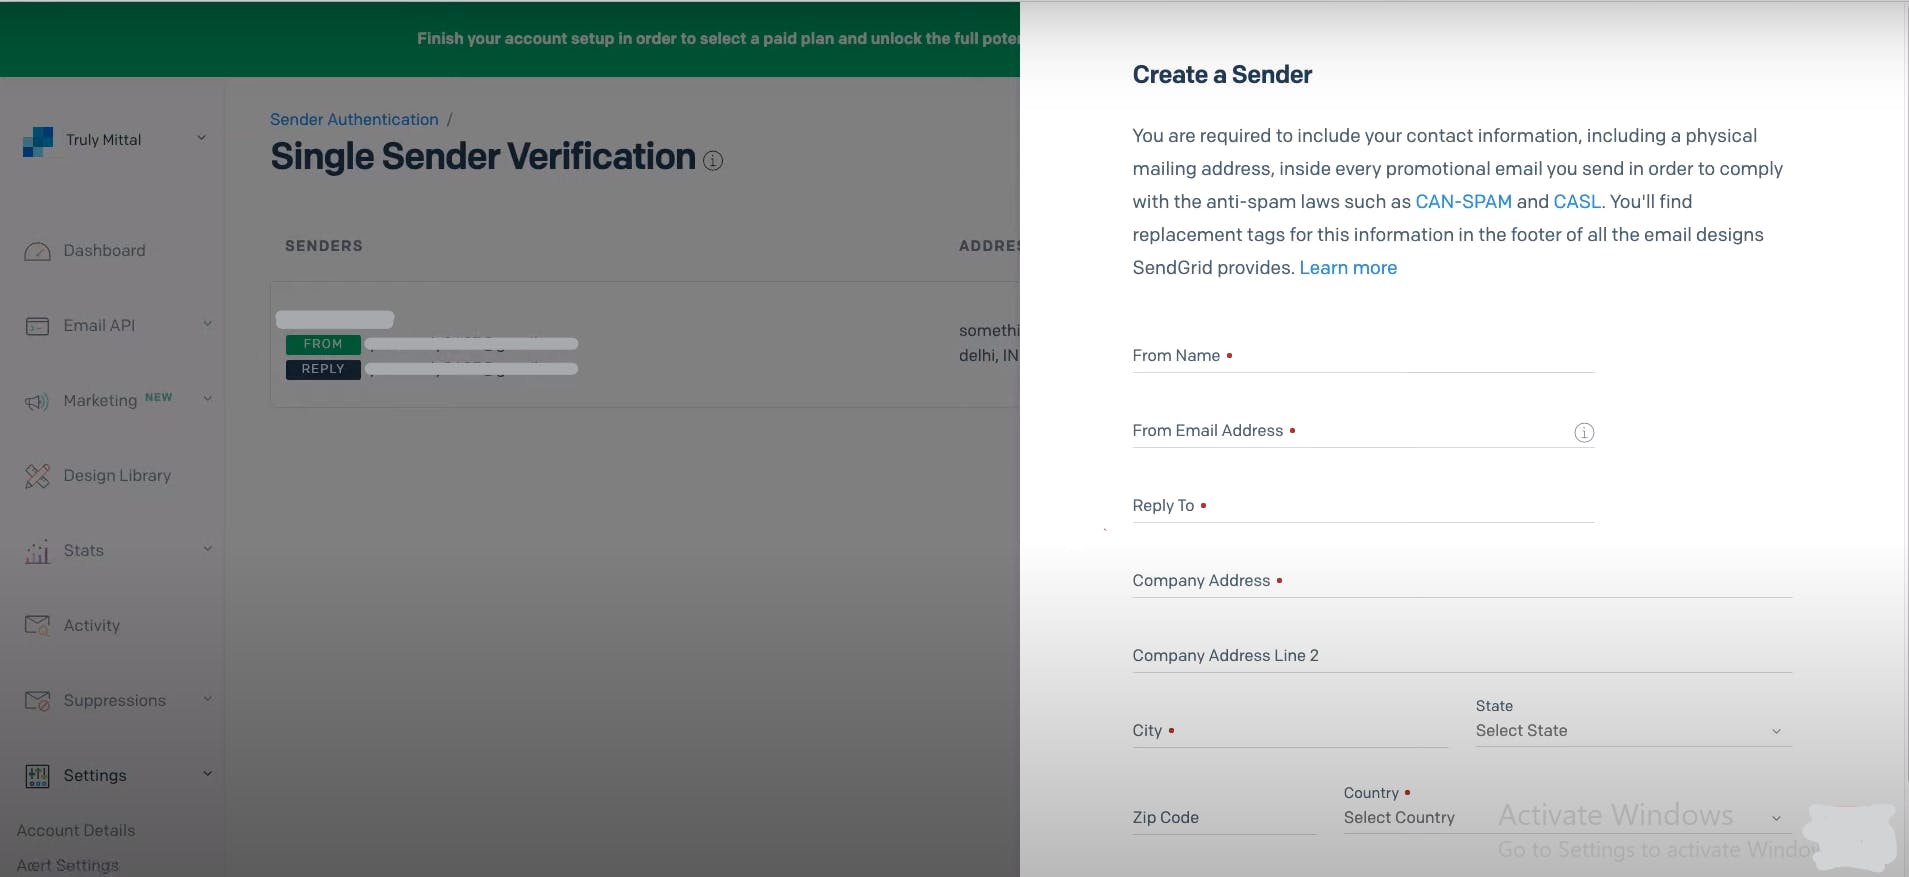
Single Sender Verification:
The Process is pretty straight forward but here are few fields to understand:
- From Name: This name would appear as the sender's name.
- From Email Address: We will use this address to send emails.
- Reply To: This email address will receive all the replies.
Note: From Email Address & Reply To can be the same email address as well.
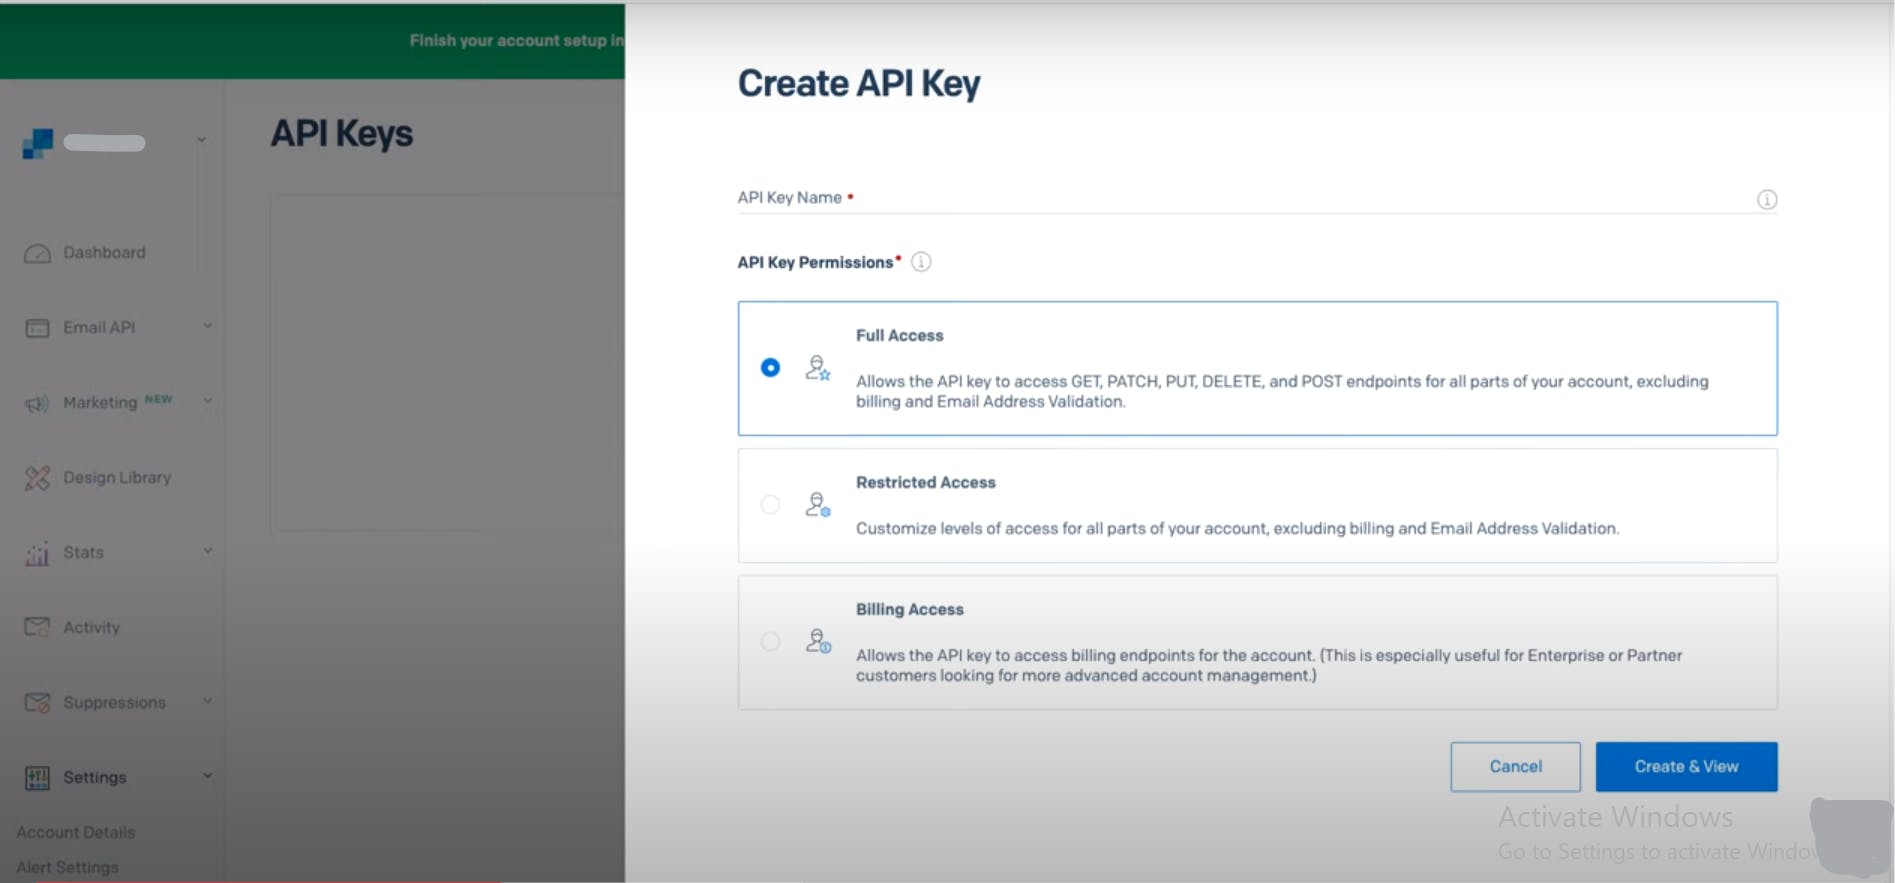
API KEY:
Now, it's time to get our API KEY.
Go to Settings > API Keys & Click on Create API Key.Select Full Access, Name your Key anything you want, this name for your reference and has nothing to do with our code ahead.
Make sure you maintain a copy of the API Key somewhere, as SendGrid won't let us access the API key again.
Dynamic Template:
So, this is one of the most interesting parts, creating our own custom beautiful template. Let's send professional templated emails.
Navigate to Email API > Dynamic Templates , Click on Create a Dynamic Template enter any name of your choice (I have named it demo).Your screen should look like this 👇
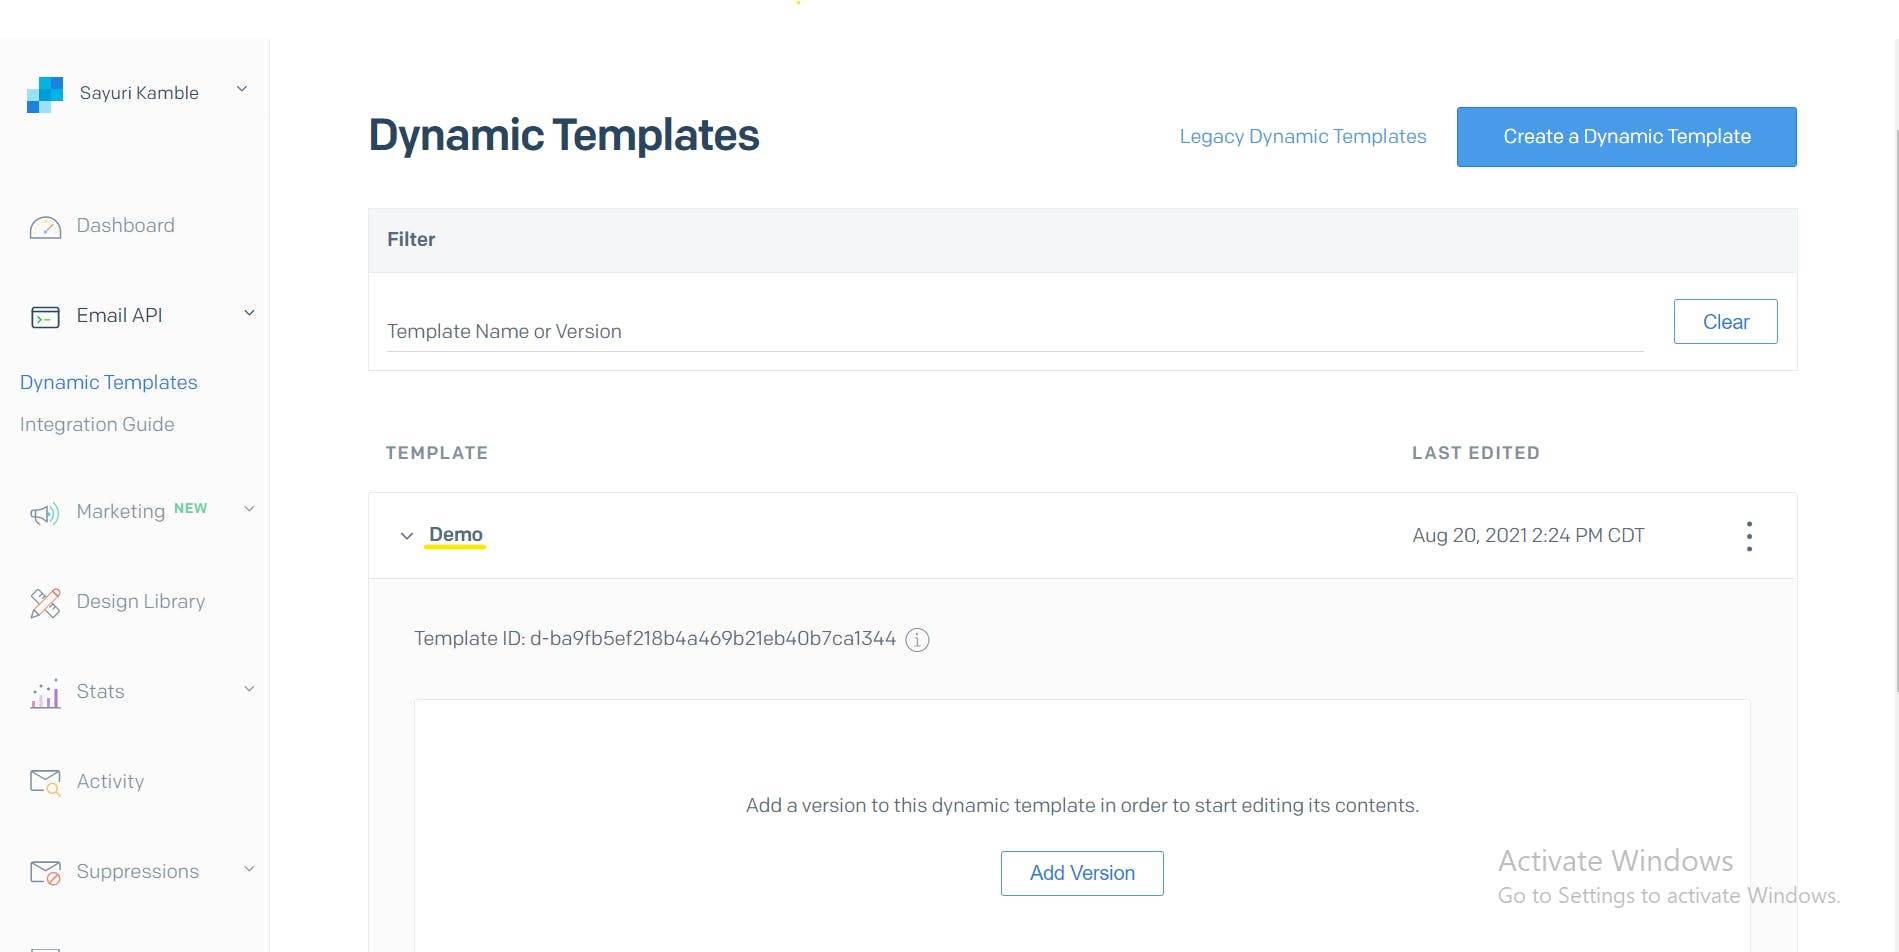
Here you'll see Template-ID, we will need this later in our code.
Click on Add Version > Blank Template > Code Editor (Refer to the GIF below)
I usually prefer designing a template from scratch, but you can select Sendgrid Email Design for some pre-designed templates and then edit in the code-editor environment.Tip: You'll also find many pre-designed templates on the internet.
SendGrid Demo | Hashnode Blog - Watch Video

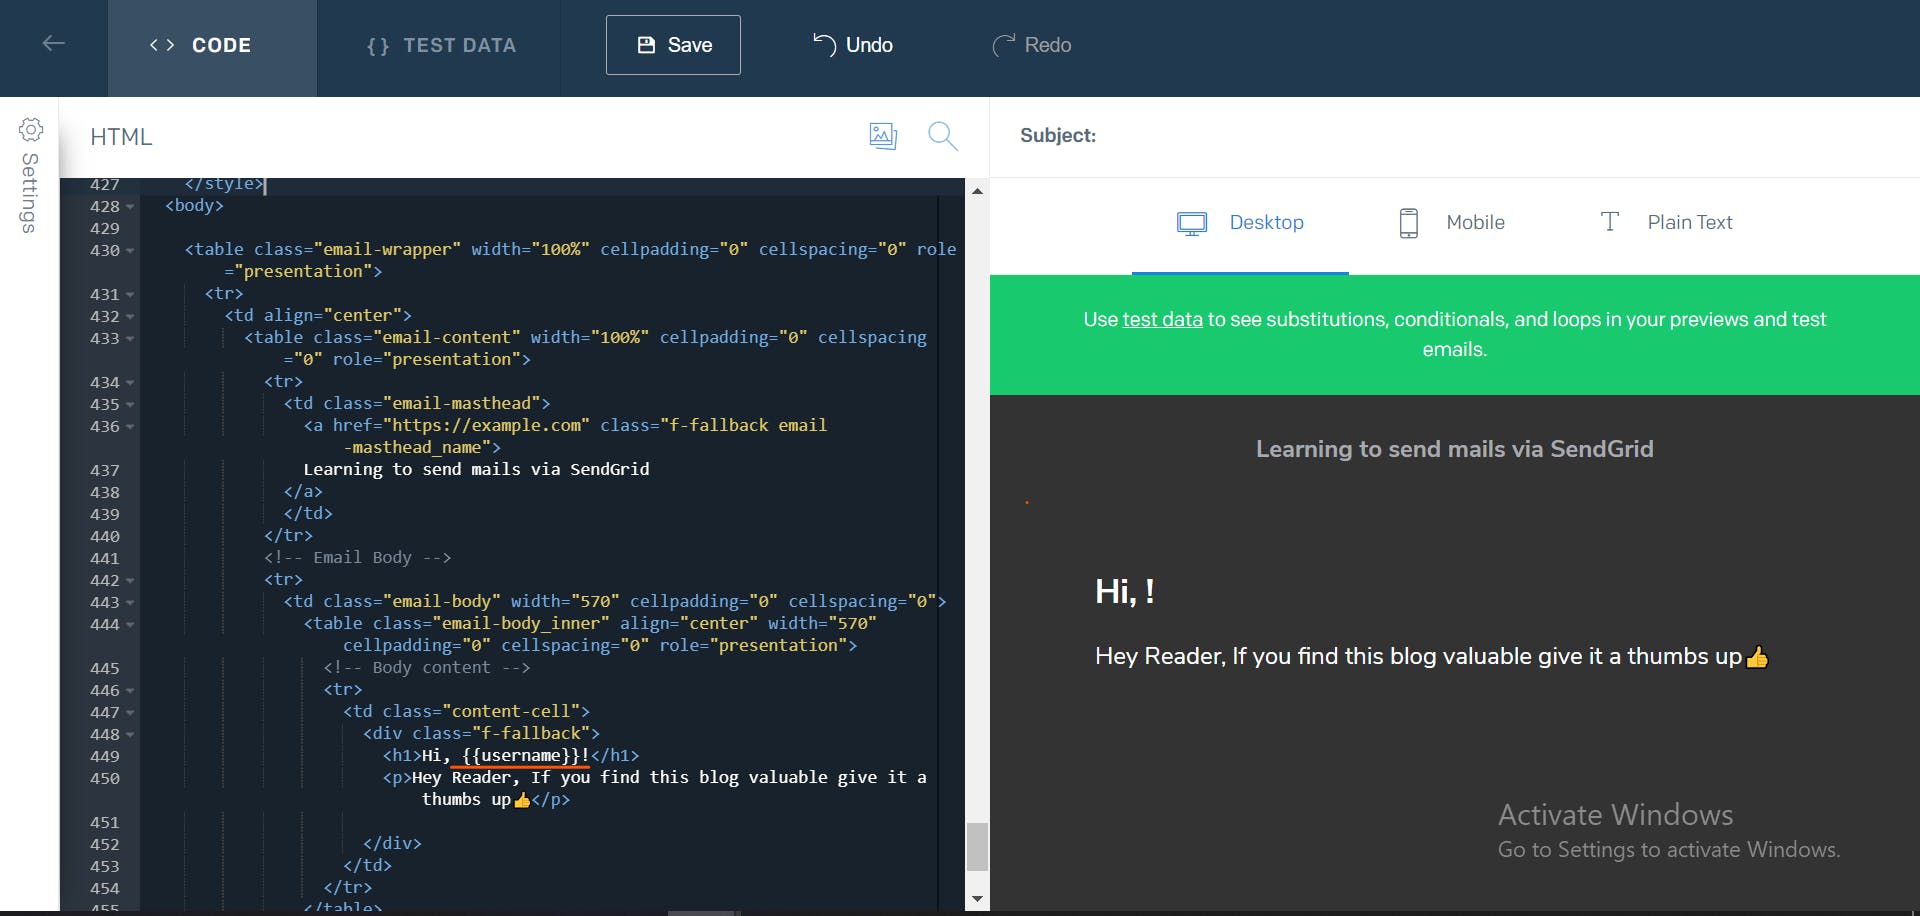
Let's look into Dynamic Variables
Notice how username is wraped into
{{ }}-->{{username}}.
These are called Dynamic Variables/Iterators. These variable are not static and changes from mail-to-mail.
So, when we are coding we must take care of these dynamic variables.We will talk about this more, later in the article.
That's it for the SendGrid Account Part.
Now let's write some code and see the magic to happen.
Let's get into coding:
Firstly, let's create a file and name it
mail.js.
PS: I have this file in my utils folder.
Setting up the sendgrid API Key
To be able to send mails via SendGrid, we need to provide the Sendgrid API Key which we kept aside initially.
Here's how we do it 👇
   const sgMail = require("@sendgrid/mail");
   sgMail.setApiKey(process.env.SendGrid_API);
You should have your Sendgrid API Key in a .env file. Your .env file should look like this 👇
SendGrid_API = "YourApiKey"Make sure your SendGrid API Key is not exposed or pushed to any version control repository like (GitHub, Bitbucket, etc)
SendGrid is quite conscious about security and exposing your API Key would result in temporary suspension of your SendGrid account.
The Logic for sending mails:
Firstly, let's take a look at the minimum needed code to send an email through SendGrid.
   const msg = {
    to: 'recipient@example.com', // Change to your reciver's email
    from: 'youremail@example.com', //mail from which you want send mails
    subject: 'Lets learn to send mails programmatically ',
    text: 'Here goes your body content',
    html: '<strong>Can send temeplated mails too!</strong>', // optional
  }
 sgMail
 .send(msg)
 .then(() => {
    console.log('Email sent')
  })
 .catch((error) => {
   console.error(error)
 })
Now, let's understand the above code.
SendGrid requires us to pass an object, here it is named asmsgThe object should primarily contain:
to: Reciever's / Recipient's email address.from: Your email or the email from which you want to send mails.subject: The subject of your mail.text: The content of your mail.
Then we invoke the
sendfunction provided by SendGrid and pass in themsgobject. Then we chain it with.then&.catchas it returns a promise.
That's it! Run this file and see the mail land receiver's mailbox.You are done! But there's one shortcoming here. It is very difficult to add complexity or custom functionality to the above code.
Don't worry. We have a come around for the same.
Creating Email
class:So, we are creating a class named Email. Even if we aren't coding in Object Oriented Programming approach, constructing a class would help us achieve reusability and would make things easier to handle. Also, it gets handy to add custom functionalities.
Also, Now we are using an HTML/CSS template to make our email look impressive.
Here's how we do it 👇
export default class Email {
  constructor() {
    this.to = "recievers@gmail.com";
    this.name = "Reciever Name";
    this.fromEmail = "yourmail@gmail.com";
    this.fromName = "Your Name";
   }

   async sendMails() {
     const mailOptions = {
     to: this.to,
     from: {
       email: this.fromEmail,
       name: this.fromName,
       },
     templateId: "YourTemplateID", // Here goes your template-Id
     dynamic_template_data: {// dynamic data = which changes mail-to-mail
     username: this.name, // username would always be different
   },
 };

  await sgMail.send(mailOptions).then(() => {
    console.log("Sent");
    }, console.error);
  }
}
Here are few points to understand:
templateId: Put in your Template-Id here. SendGrid makes it extremely easy to send templated emails. Simply put in the ID of the Template which you want to use.dynamic_template_data: This object contains dynamic content and iterators which have a reference to the iterators in your templates.
So here's how our
mail.js should overall look 👇
     const sgMail = require("@sendgrid/mail");
     sgMail.setApiKey(process.env.SendGrid_API);
     export default class Email {
     constructor(user) {
       this.to = "recievers@gmail.com";
       this.name = "Reciever Name";
       this.fromEmail = "yourmail@gmail.com";
       this.fromName = "Your Name";
      }

      async sendMails() {
        const mailOptions = {
        to: this.to,
        from: {
          email: this.fromEmail,
          name: this.fromName,
          },
        templateId: "YourTemplateID", // Here goes your template-Id
        dynamic_template_data: {// dynamic data = which changes mail-to-mail
        username: this.name, // username would always be different
      },
    };

     await sgMail.send(mailOptions).then(() => {
       console.log("Sent");
       }, console.error);
     }
  }
Creating a
route:I have named my file
sendmails.js, feel free to name it according to your preferences.const router = express.Router(); const Email = require("../utils/mail") router.post("/", async (req, res) => { try { await new Email().sendMails(); res.status(200).json({ message: "check your mail", }); }catch (err) { console.log("err", err); } }); module.exports = router;Let's go through the above code step-by-step.
- Firstly, let's not forget to import our
Email Class-->const Email = require("../utils/mail") - Now, let's write a
postrequest. - Then we invoke the
.sendMails()method on ourEmailClass. - And finally we send a json
messagewith a200status. - Lastly, we add a
catchblock for logging errors if any.
- Firstly, let's not forget to import our
Making an
API Call:This is the last step, after this, you can start sending emails from your program/app!
Now, we have everything in place and well set up.
We just need to make an API Call.Here's how we should do it 👇
    async function sendMails() {
     try {
         const ress = await axios.post(`/api/sendmails`, {}));
      } catch {}
    }
That's it. You are done!
Go check your inbox and take a look at your stunning templated mail.
This is how we can send emails, but don't settle here. This is the simplest and the most straightforward way.
I would recommend you to go ahead take a deep dive into SendGrid Official Docs and build amazing applications.
That's it from my side today. Let me know your thoughts in the comment section.
If you liked the article give it a thumbs up.
Hope you found value, and if you did consider supporting me 👇